The CVT is an important link for transferring the engine’s power to the ground. Maintenance and modifications are endless, so where does one start with such an important link? The factories produce ATVs and their stock clutching or calibration has a very broad range of use, and in most cases this broad range fills the needs of the average rider. Sometimes certain models are very well calibrated, and other times re-calibrating the CVT (Continuously Variable Transmission) is the key to better belt life, acceleration or case specific applications, such as big tires, different altitudes, different types of racing, or specific uses.
How the CVT Works
There are several books written on CVT clutch tuning, and some in depth principles of controlling the rate of shift of the belt on belt drive systems. The following is a very general guide to help those unfamiliar with understanding some basic principles of the system.
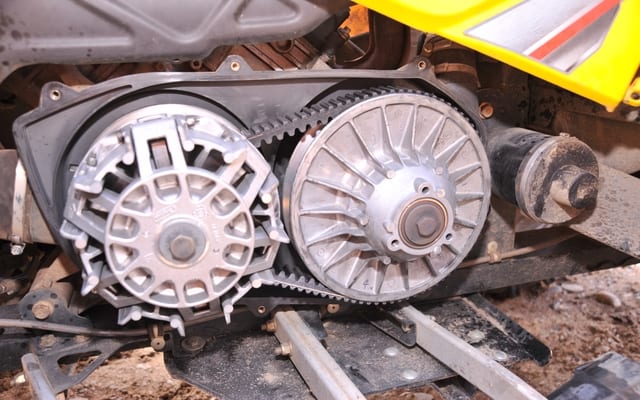
Basically, the primary clutch grabs or pinches the belt to make it turn, and the secondary clutch is like a transmission that shifts the gears automatically. More precisely the CVT system on your ATV is a variable rate system. It is a two-pulley system that gives different belt ratio as it shifts. As the belt goes up on the primary clutch, (the clutch mounted on the end of the crankshaft), it also goes down into the driven (or secondary clutch) giving a higher clutch ratio and more speed. Conversely, as the machine comes under load or slows down its speed, it back shifts to a lower ratio, so that it will be able to pull away again after slowing or stopping. A system that is properly calibrated will up shift as quick as possible, while still maintaining the proper RPM for the engine’s power curve; this is the balance that you want. If a system is up-shifted too quickly, it lowers the engine RPM to a level below peak horse power, if it up shifts too slowly, the engine will rev too high during the shift phase, and this too is a loss of power to the ground.
It is important to realize that on most ATV situations, the “clutch phase “(the time that the belt goes from low ratio to high ratio), is only for a distance of approximately 500 feet at wide opened throttle (and even much less than that on some), or around 75kms. After which, the clutch components are opened all the way, and have little effect, as the belt is already up on the top of the primary clutch. Once the belt is to the top, the engine starts to build RPM, as the belt is out of ratio. Clutch components cannot control RPM after full shift out is achieved. Clutch components change the rate of shift of the belt. Once the belt is shifted out, clutching or clutch kits cannot offer top speed increases.
Primary Clutch Part Principles
The flyweight is adjustable and is part of the ramp arms, this flyweight determines the engine’s RPM, and so, if you need less RPMs: increase flyweight mass, this in turn lets the clutch levers push harder. On the other hand, if you need more RPMs: reduce flyweight mass, the clutch levers push less.
The ramp profile controls the size/magnitude of the shift force. A lower angle will provide more shift force. While the higher angle on the ramp will provide less shift force. (See the diagram for a visual)
Some primary clutches have clickers; these clickers are adjustable and change the clutch ramp angle. This will determine how quickly the engine will rev or accelerate. If you need engine to respond quicker, just raise clicker. Note: just do one change at a time and keep track of your changes. If you need the engine to respond slower, just lower the clicker.
Note: clicker 6 raises ramp angle to highest point and gives you the quickest engine response, while clicker 1 lowers ramp angle to the lowest point, giving you the lowest engine response.
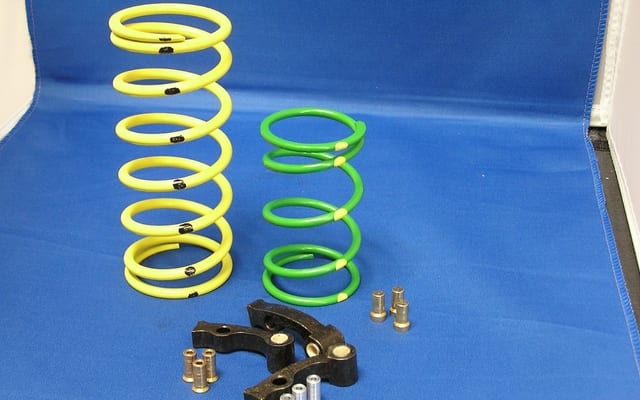
Primary clutch springs – Stiffer springs slow the up shift, while softer springs up shift faster. The initial load (first part of the compression) of a primary spring controls engagement. Sometimes, a stronger compressed load rating spring (second part of spring compression), can allow the use of more flyweights and the combination is effective for a situation, but not all situations are the same. A spring is another type of tuning component and there are several to choose from. A spring is always chosen relative to the flyweight and the rest of the system.
How to Maintain the CVT
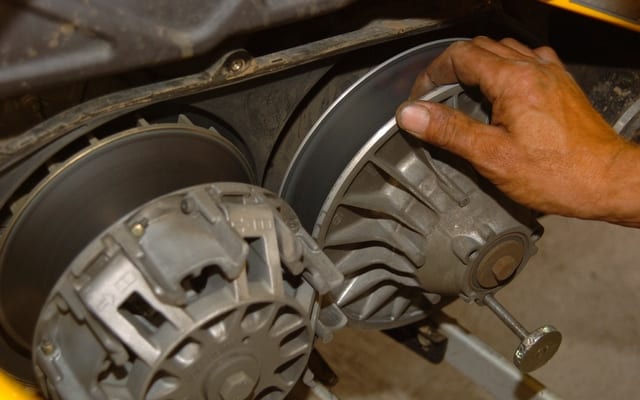
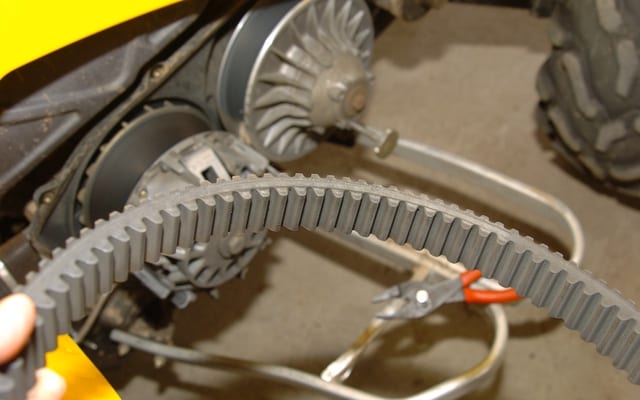
Most CVT units don’t get proper maintenance, because simply it is out of sight and out of mind. Keeping this unit clean is important; belt dust does get built up under normal use. Cleaning this dust can be done with compressed air, but disassembly of the components would be the best. While the clutch is apart, it is also a good time for visual inspection for worn and damaged parts. Check for wear on bushings and plastic buttons / slides and replace worn parts. Remember that CVT parts are to be kept DRY, NOT even a light spray of WD 40 is necessary; that will attract dirt.
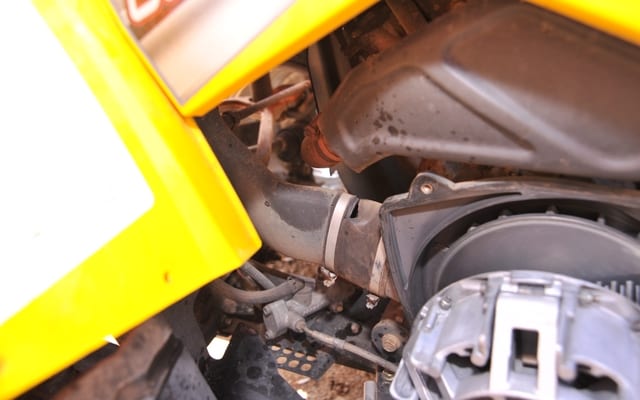
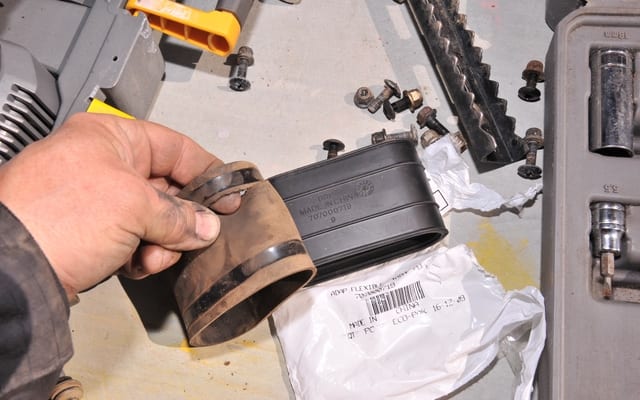
The broken
Note the broken boot on this air supply tube, it was hard to see until we removed the CVT cover. This break allowed a lot of dirt and debris into the CVT housing. It was easily fixed, with a boot replacement and a thorough cleaning. Alignment of the clutches is important for long belt life and belt deflection is also important for peak performance and trouble-free riding. Belt deflection is clearly shown on how to set the proper belt deflection. (See the diagram above) The amount of belt deflection and how to adjust this will be in your owner’s manual.
Belt life, something we have noticed while testing over the years is: the bigger the HP the shorter the belt’s life, so please, when purchasing another belt, make sure it’s the proper one! There is no cheaper belt solution to big power.
How to Modify the CVT
How can clutch components help my CVT equipped automatic ATV?
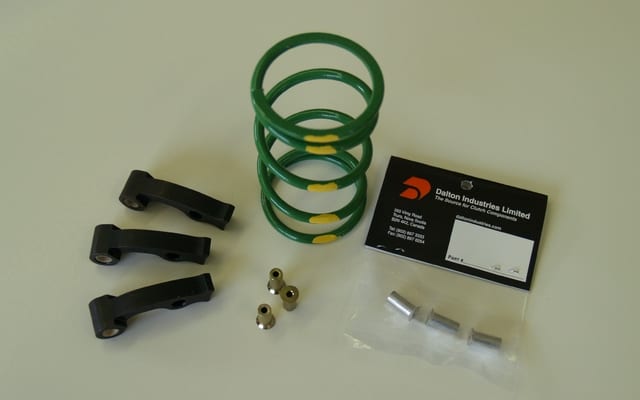
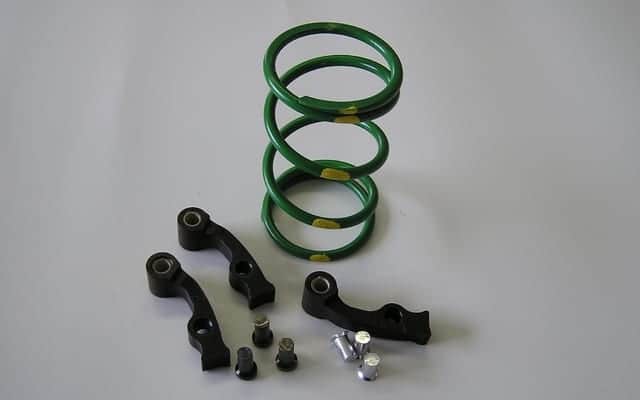
We went to Dalton Industries for the answer, there are 3 clutch kits for our test vehicle, a’07 Can Am Outlander 800.
DBO 800 Kit’s description:
It promotes an improved bottom to mid-range acceleration without sacrificing top speed. A new flyweight with a new curvature was designed specifically for this 800cc Outlander model. These new flyweights can be set up for different applications. You can set up this system for: improved acceleration with stock tires re-calibration, to help recover losses from oversized tires, or to help control up shift at higher elevations. A baseline set-up guide is included for most common applications.
DB0 800 R, description:
The 800 Renegade is not only a lighter weight vehicle than the Outlander; it also has smaller stock tires. The 800R kit for this model comes with the same base flyweights as the Outlander kit, but has different rivets, calibrations, and set-up instructions for 25″ and 26″ (aftermarket) tire sizes. To use the DBO 800 kit on a Renegade with Stock Tires, order the optional rivets part # DFRL-Y for the different weights.
DBO 800 M Dalton Mud runner Kit, Description:
(Extra-large mud specific tires) Better belt grip and improved performance in mud conditions with large, mud specific tires. This kit is designed to better control the shift pattern of the CVT belt system and to help re-calibrate for the big tires. It also provides improved back shifting under heavy load and holds the engines RPM’s better in tough mud running, and thus minimize slippage in heavy mud conditions.
Certainly, clutch tuning is an art form; there is a lot to it, if you do decide to go down this tuning path. Make sure you document each step of the way and compare those notes; you may find, after a lot of different testing, that you may go full circle and end up where you started! Snowmobilers have done a lot of clutch testing, while this procedure is more critical to 2-stroke motors. Sled Head fans, who race, do have some answers on this subject.
The 4-stroke engine is more forgiving and it is possible for the do-it-yourself chap, to do this project, but there are special tools required. It is recommended to have a shop do this work and it is recommended that you go with a complete tuning package that has all the parts; everything has been tested and the package is ready to install with intended results. Special thanks to BRP and Dalton Industries for all their information, Happy Trails!


