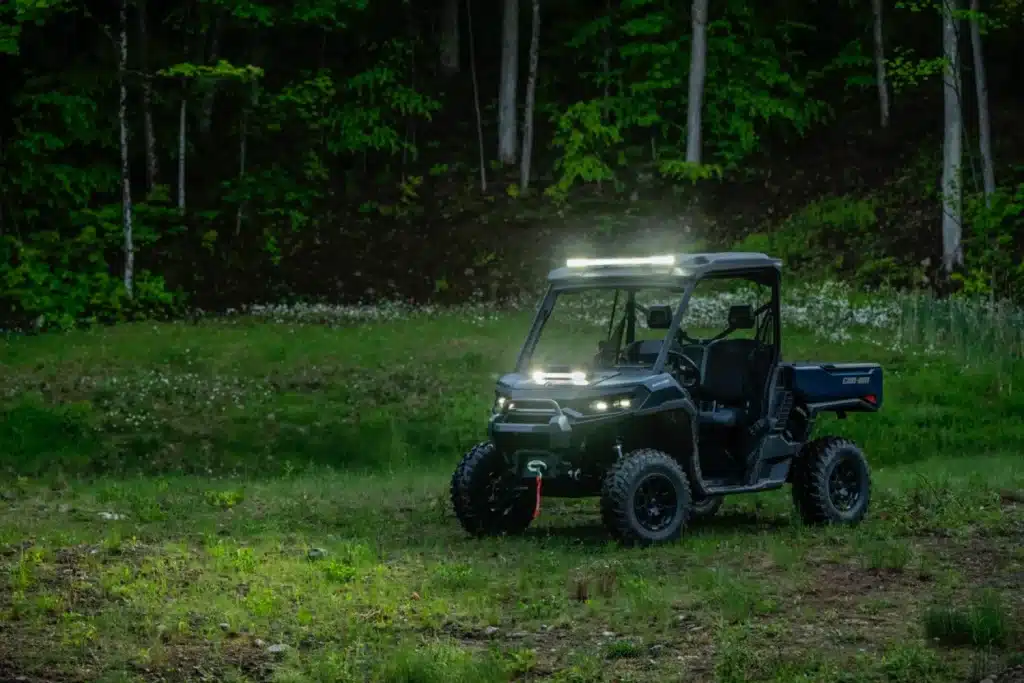
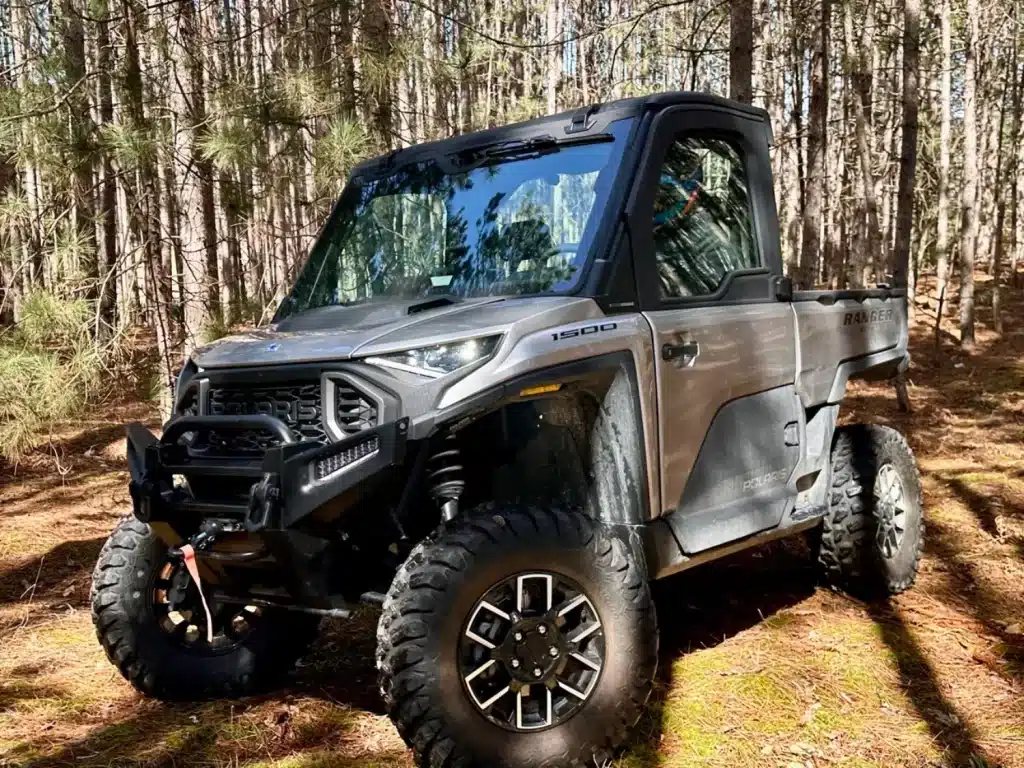
There are several reasons why a quad owner might want to install a suspension lift kit. The first is obviously to increase the ground clearance of the quad in hopes of pushing the limits of the trails. The second, following the installation of oversized tires, one realizes that they do not have the necessary clearance to avoid coming into contact with the body of the quad. Finally, there is the aesthetic aspect. We all agree that a quad that stands out with its high ground clearance looks good.
Choosing the right suspension lift kit
The modification of large quads or side-by-sides is now very popular. The suspension is no exception. A wide variety of suspension lift kits are available on the market. It is important to choose the right kit according to the purpose of the quad and the amount of money allocated to the modification. If the purpose of the quad is to ride and work, the choice of a moderate height will be preferable and at low cost. It will allow to keep a good stability while riding as well as a mechanical durability for work. However, if the use of the quad is mainly dedicated to very deep mud conditions and ground clearance is paramount, a raise that goes beyond the imagination will be quite appropriate. The investment can start at a few hundred dollars up to several thousand. In this situation, the objective is to provide sufficient clearance for the oversized tires so that they no longer come into contact with the bodywork. The selected kit (# 309018) is distributed by Kimpex. The suggested retail price is $245.99. It is shown with a suspension lift of plus or minus two inches.
Installation
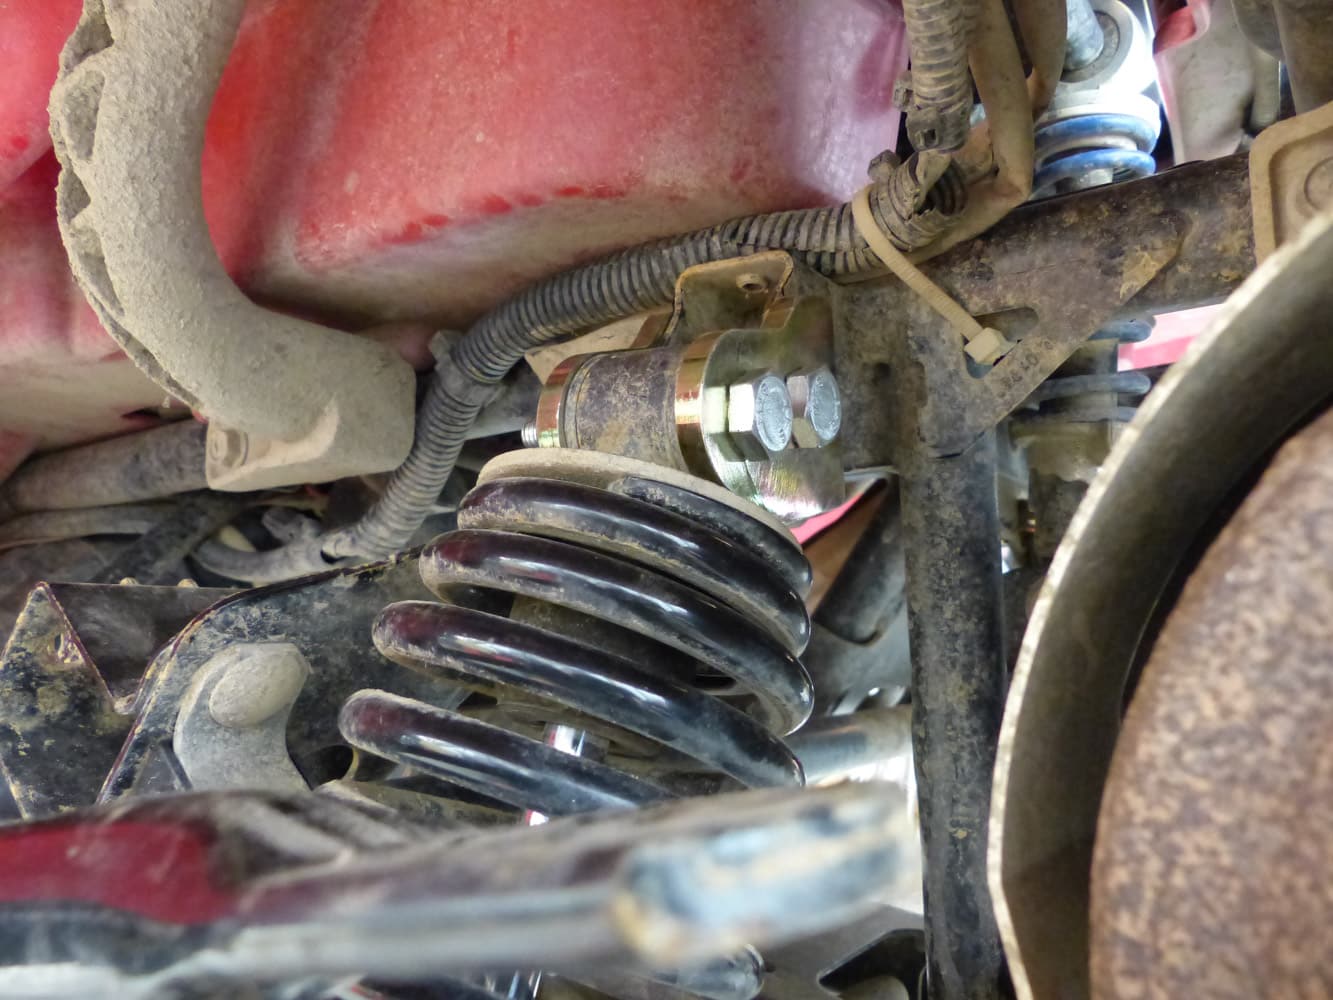
Front:
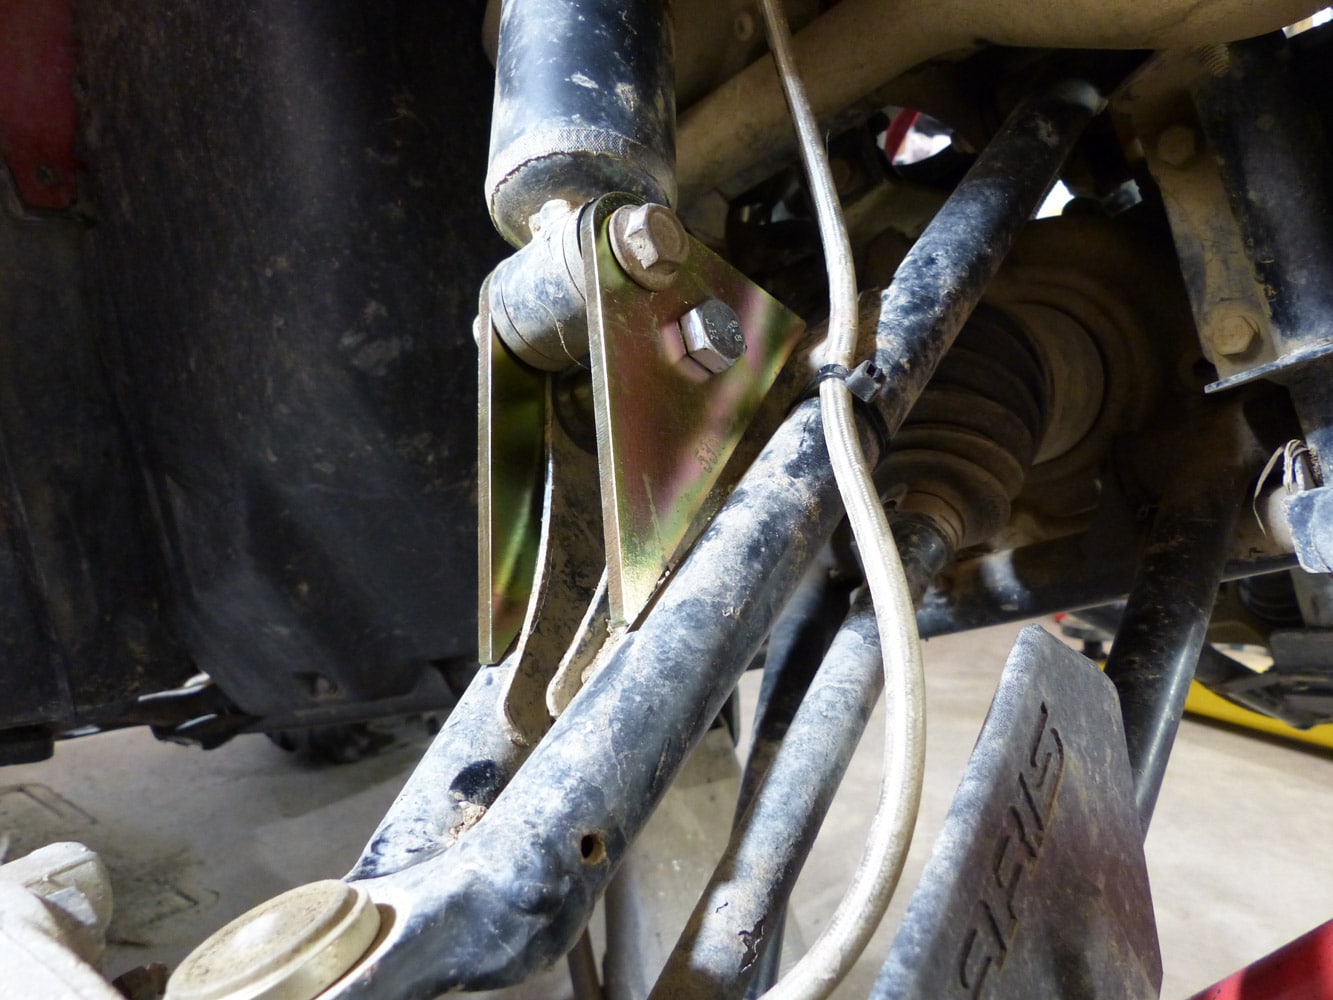
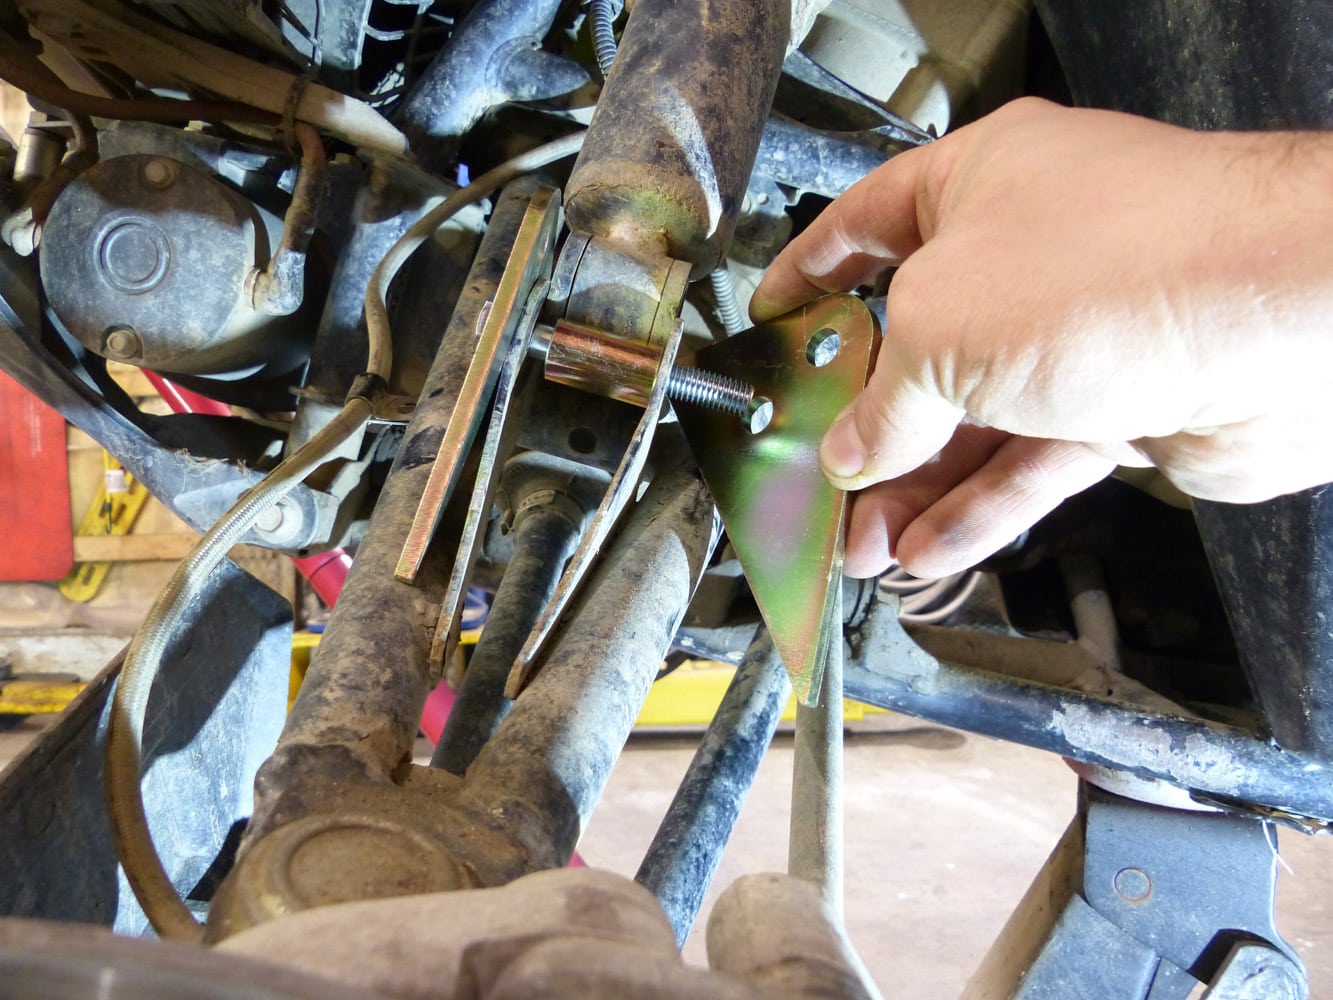
Installation of the chosen suspension lift assembly is relatively simple and requires few tools. To begin, lift the front of the quad and remove the wheels. On the upper suspension arm, remove the brake fluid line attachment. It will not be reused. Remove the lower shock bolt. Then, install the two bearing plates with the spacer sleeve that takes the original position of the shock. Continue with the installation of the lower part of the damper. To finish, attach the brake fluid line with a cable tie. All that remains is to put the wheel back in place.
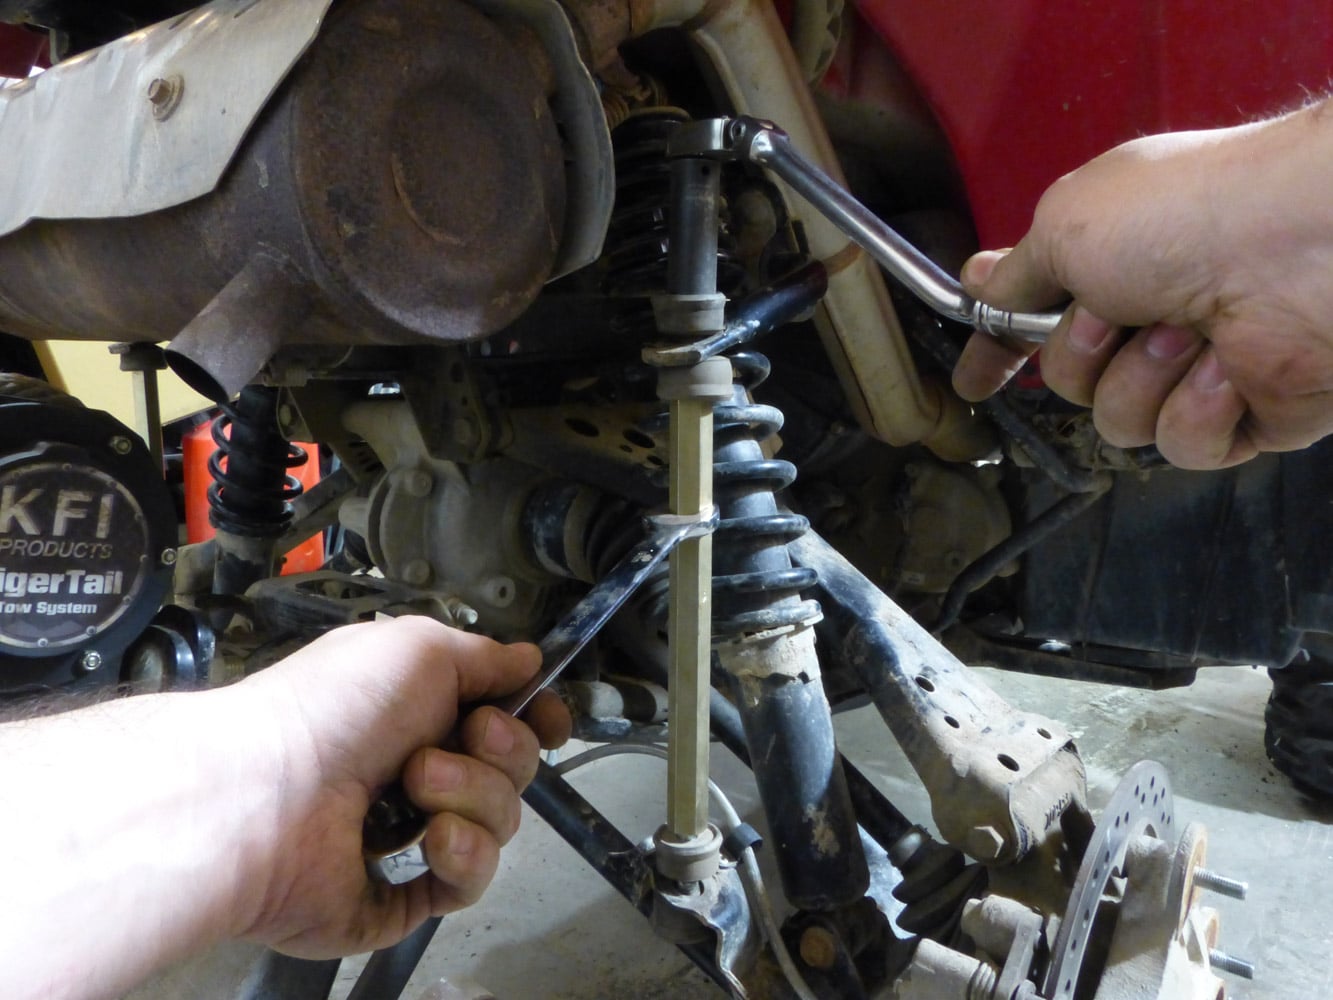
At the back:
Lift the rear of the quad and remove the wheels. Remove the connecting rods of the stabilizer bar. They will not be reused. Remove the upper fixing bolts of the rear shocks. Install the bearing plates with the spacer sleeves. Take care to position the plates correctly in the notches of the plate. Attach the shock absorber to the plates.
Finally, install the connecting rods provided with the lift kit to the stabilizer bar. They will require considerable effort to install because of the angle the lift kit causes. Return the wheels to the quad.
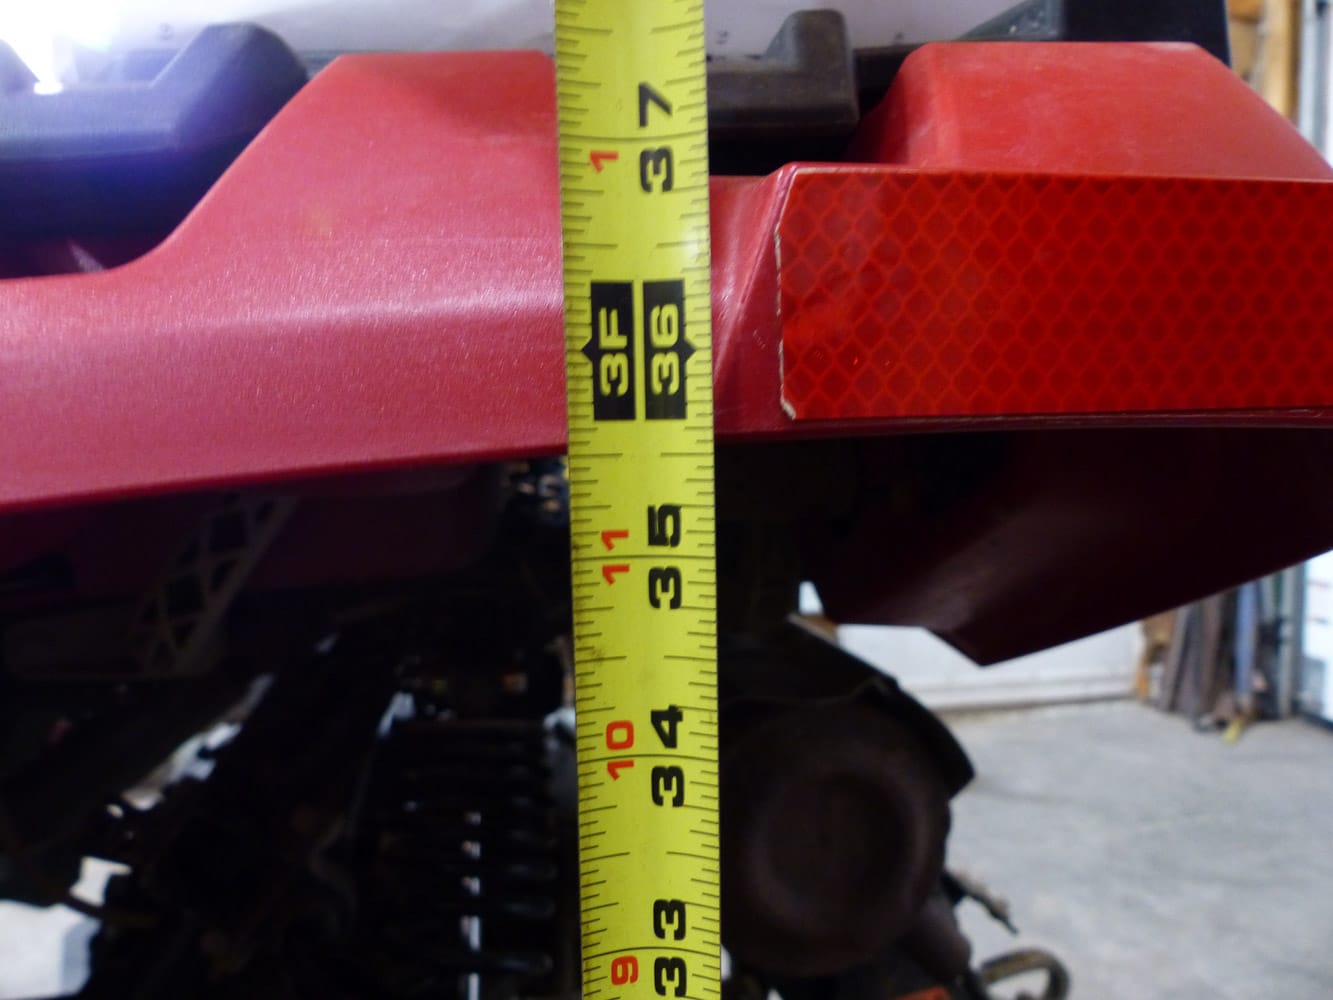
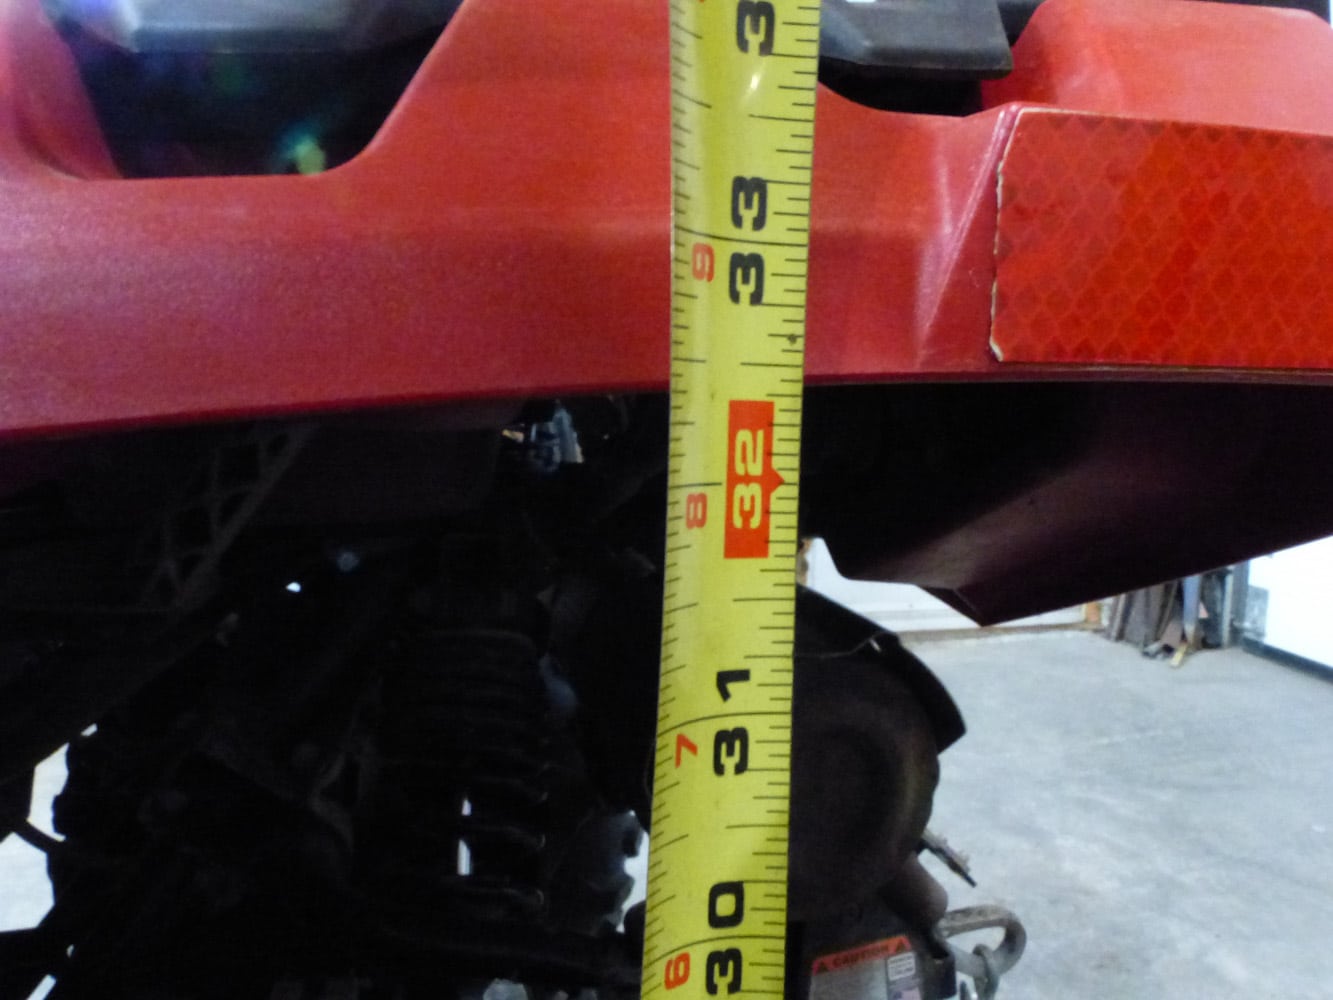
Before the intervention, I had taken care to take a reference measurement. It was 32 7/16 inches.
After the installation of the suspension lift kit, the measurement is 35.5 inches. So the quad is about 3 inches higher than it was originally.
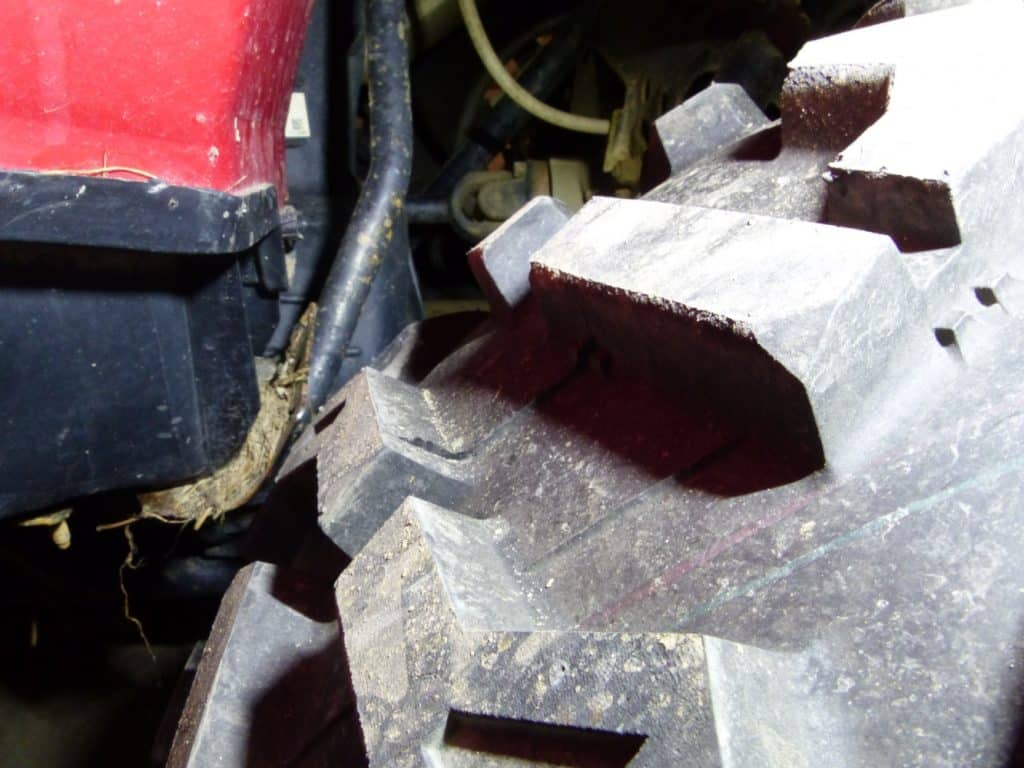
Front
Clearance between the tire and the body
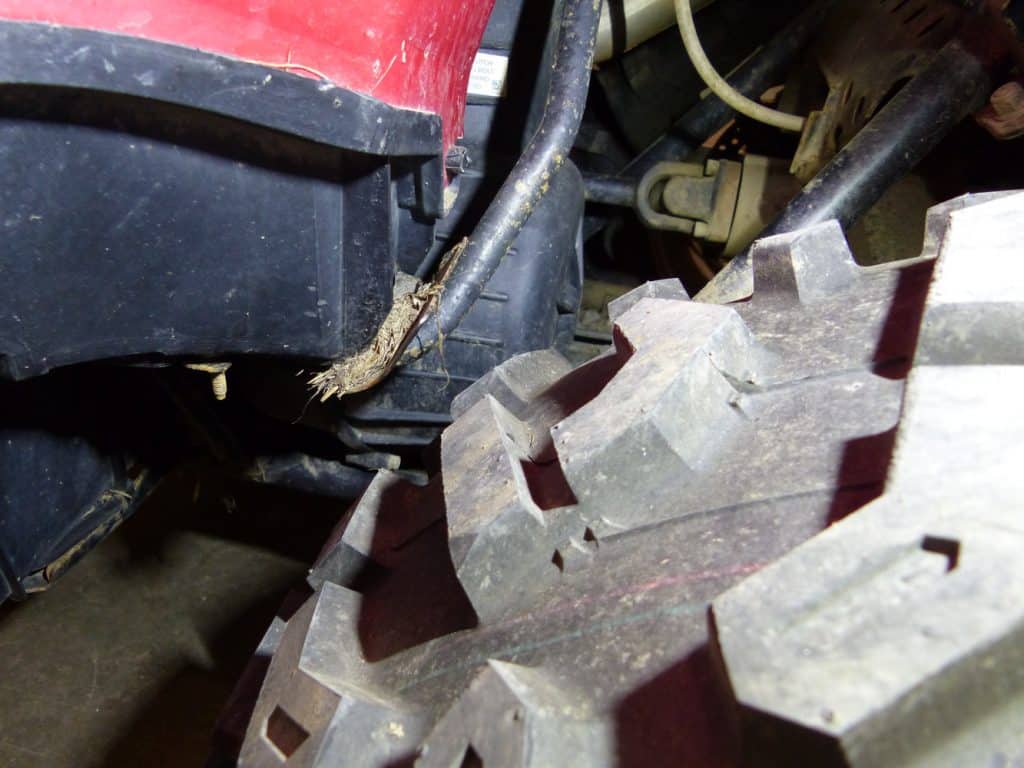
After
Clearance between the tire and the body
Things to consider
Depending on the amount of suspension lift that is chosen, there are some disadvantages that may be associated with the modification. The first is stability when cornering or driving on inclines. The added height significantly increases the risk of rollover. Secondly, the wheel half-shafts will be mechanically stressed due to the increased angle that the CV joints must undergo. In this case, the half-shafts should not suffer too much. The angle still seems respectable.
Conclusion
It is always interesting to increase the capacities of your frame. You just have to evaluate your needs without getting carried away. Kimpex offers a wide variety of suspension lift kits. It is possible to increase the height of the quad from 1.5 inches to over 10 inches. All you have to do is choose yours.


